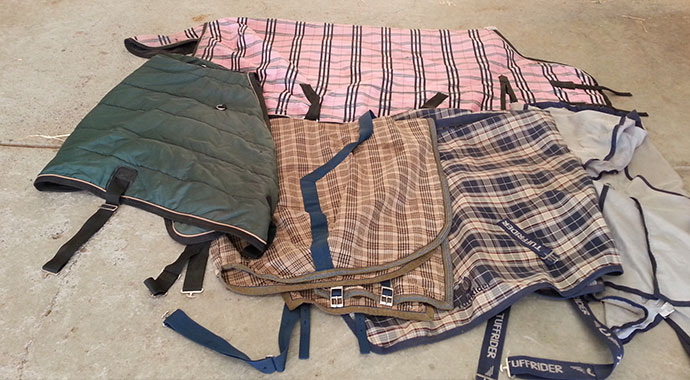
Having grown up in the English riding style horse world, the strap that runs under the horse’s belly, a handbreadth behind the elbows attaching the saddle to the horse’s back, is called a “girth”. The girth has buckles at both ends, and all one has to do is run the buckles up the billets, secure them and – voila! – the English saddle is secure on the horse’s back.
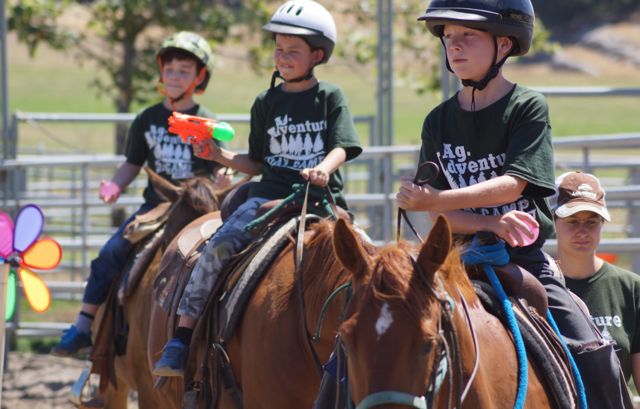
Attaching the Western riding style saddle is not quite as simple. For the past several summers, my terminology and actual cinch tying technique have been put to the test as I both tack up and guide the tacking up of Western riding style ranch horses for Ag Adventure Camp. I have willing helpers with a wide range of experience, so guidance and stepping in to help are just part of the job when it comes to tacking up five or six horses every day.
Gir- . . . No Cinch!
“Let me know if you need help with the gir-, cinch!”
“Check the gir-, I mean cinches, before the riders get on!”
“Let me show you how to do the gir-, oops, cinch!”
These are all things that slip out of my mouth on a regular basis…you can’t fully take the “English” out of me, I guess! The latter is especially comical, because it’s practically the blind leading the blind. Only, my eyes can see just a little bit better than my least experienced helpers.
This year, though, I feel as though I really got the hang of things. Not only with tacking up, but un-tacking, including mastering the folding of the cinch strap(s) – some saddles are roping saddles with a “back-cinch” (rear strap) – so as to avoid the drag-the-straps-in-the-dirt method of putting western saddles away after use.
So, for my English compatriots or newly-minted Western riders – or for a little chuckle from experienced Westerners – here’s my take on cinching up!
Download this free cinching up cheat sheet to follow along with!
Three Steps to Nailing the Cinch Tie
The cinch on a Western saddle is actually the string or leather strap that is buckled on the off-side of the saddle (and remains there when untacked) and has a buckle ring for the latigo leather strap to run through on the near-side. There are all different styles of cinches, but they all attach in one of two ways, either they are “tied” or “buckled”. Here’s how to nail the cinch tie.
Step One
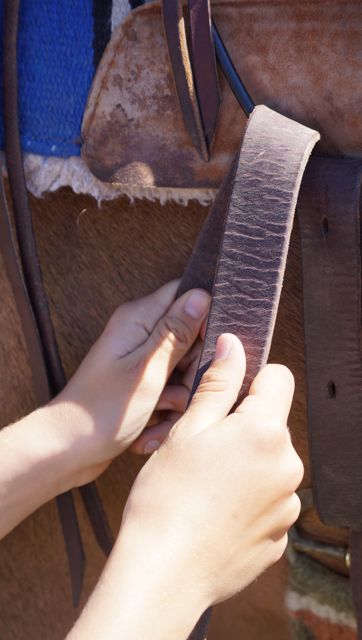
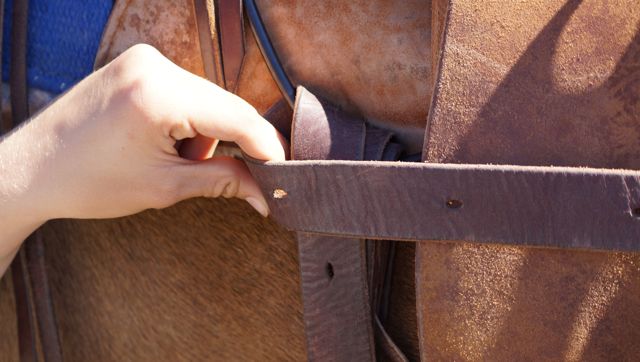
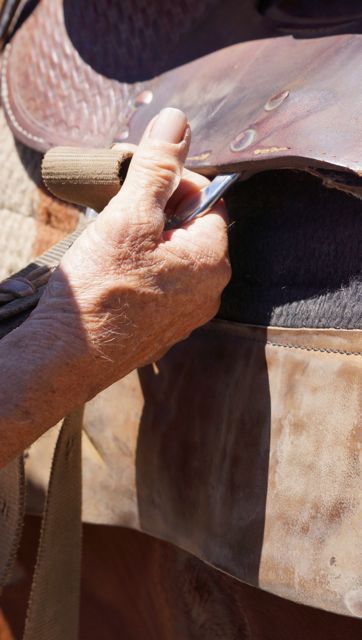
Standing on the near side of the horse, after the saddle has been placed. Grasp the cinch buckle from under the horse with your left hand. Take the latigo leather strap in your right hand and run the latigo leather strap through the buckle ring and back up and down through the D ring on the saddle.
You will finish with the latigo end facing down, and only through the top D ring. If the latigo is long, it will run through the buckle ring and back down through the D ring a few times, and you’ll want to leave yourself about an arm’s length of strap.
Step Two
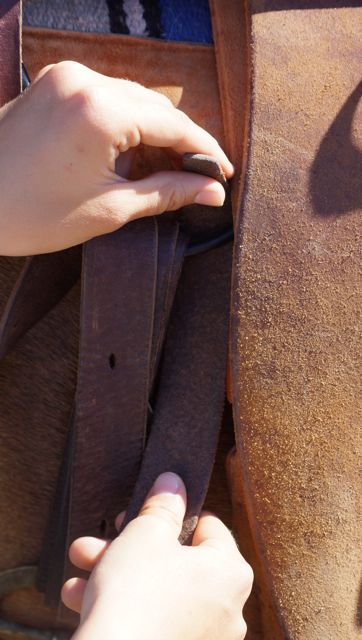
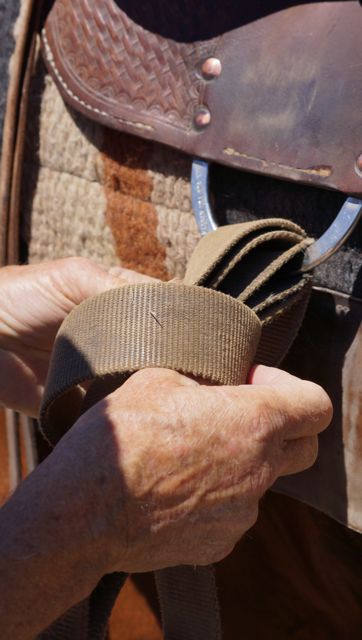
After the last time down through the D ring, bring the latigo strap across the face of the looped latigo, from the front of the horse toward the back of the horse, creating a cross over the latigo that you’ve run up and down through the cinch and the D-ring.
Step Three
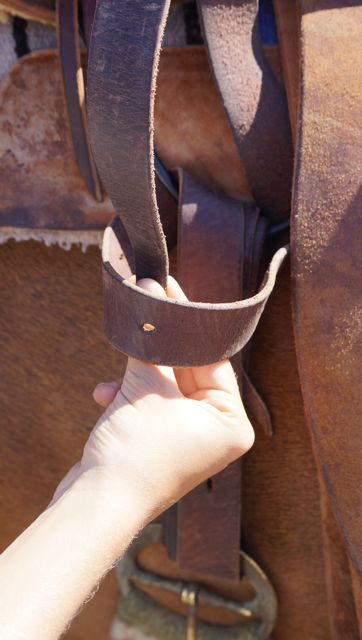
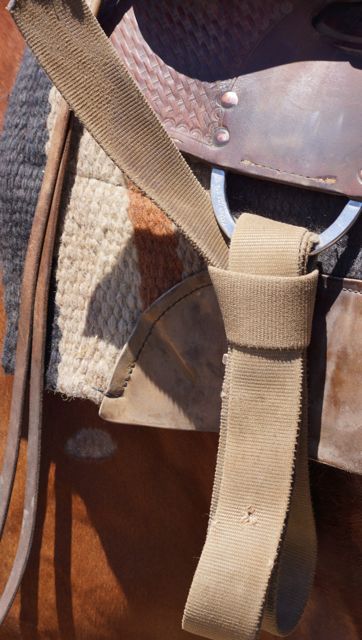
Now the latigo end goes up through the D ring and comes out on top to easily go down behind the part of the strap that has come across the face of the looped latigo. Pull down to tighten the “knot”. It should look something like a man’s tie when you’re finished.

To tighten the cinch, simply pull the slack in the looped latigo and keep pulling the slack until it comes out over the top and down behind the face strap. Supple leather latigo helps glide the latigo through its paces, making cinching up a breeze.

Do the same with the back cinch if the saddle has one. The back cinch should never be “tight” while in use. It is only there to hold down the back of the saddle if you’re going down a steep embankment or doing performance work that could cause the back of the saddle to “rise”. Be sure there is space easy enough to slip your hand comfortably between the strap and the horse (if you tighten this up with force you’ve turned your “back cinch” into a “bucking strap” and that’s not what any of us want!).
Need a cheat sheet to help you while tacking up? Get your 3 Steps to Nailing the Cinch Tie cheat sheet here >
Un-Tacking to Avoid the Drag-Straps-In-Dirt Method
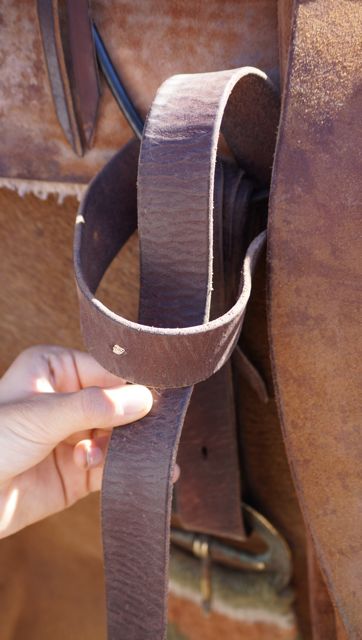
Now reverse the process to un-tack. Release the cinch, by undoing the tie and loops. You will have a long latigo strap in your hands. Take the latigo strap, and fold it towards the horse, with about a foot length of folds, the latigo end will be on top. Place the top folds through the saddle D-Ring and take the end and cinch tie the folded leather.
Do the same with the back cinch if the saddle has one.
Hey, I gotta share this with you . . . Head’s up. Purchasing products through clicking the the links or product pics that follow may result in providing us a little kick-back money. To learn more see the affiliate disclaimer near the end of this story.
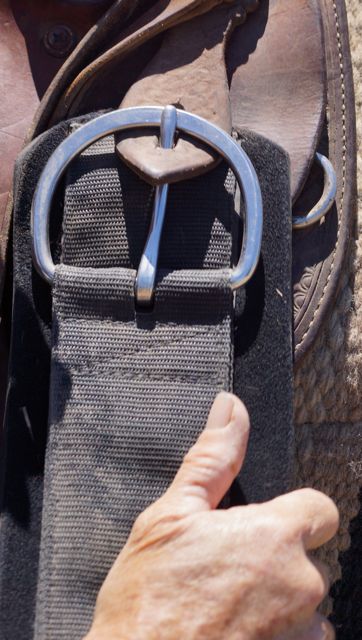
Some saddles come equipped with “latigo holders” – that’s that little piece of leather between the front of the saddle and the D-Ring with a little “slit” in it. This is used to secure the latigo when the horse is un-tacked or to hold the excess latigo strap (if there is any) when the cinch is tightened on the horse.
On the off-side, secure the cinch buckle to the strap hook on the saddle. Now remove the saddle from the off-side and voila you will not have dragging straps!
See? It’s a cinch! Also it’s the best way to care for your saddle and straps so that they don’t get over-worn by running through the dirt. Don’t forget to clean and oil the straps occasionally for maximum ease in tying off the cinch – but make sure you don’t overdo it, because a “sticky” latigo will present more problems in tightening your cinch than a dry one will.
Just so you know, clicking the above product links takes you to the product on the Riding Warehouse website. This makes shopping easy and convenient for you. We do get a little kick-back from items purchased, giving us resources to bring you more stories, but your price stays the same. It’s a win-win! Also for local riders you can skip the delivery charge by ordering items online and request pick-up – during checkout – at the Riding Warehouse store in San Luis Obispo. Happy Trails!
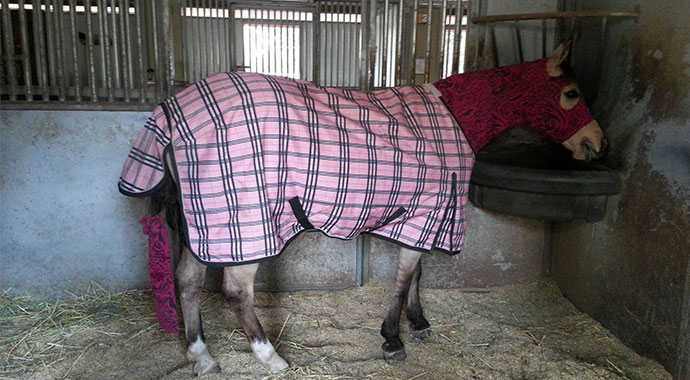
Photo credit: Sharon Jantzen Photos
Need a cheat sheet to help you apply these steps while tacking up? We have developed a FREE cheat sheet that will walk you through each step to nailing the cinch tie. Simply become part of the SLO Horse News herd and we’ll send you the 3 Steps to Nailing the Cinch Tie. We’ll continue to add horsing around stories to our website. You’ll be staying up-to-date by becoming a SLO Horse News herd member. Get your 3 Steps to Nailing the Cinch Tie Cheatsheet here >.